Sweet little Ruby has one of the coolest rooms in our house but it sat in a sad state for over a year. I knew I’d have a little more project-focused time after the holidays so I started planning a few minor adjustments to make her space feel more special. Thanks to some paint, darling decals, time at my sewing machine, and a few trips to the hardware store, it feels completely different. We didn’t spend very much money on this makeover but the right improvements and an overall idea of what we wanted went a long way in making this a room we all want to hang out in!
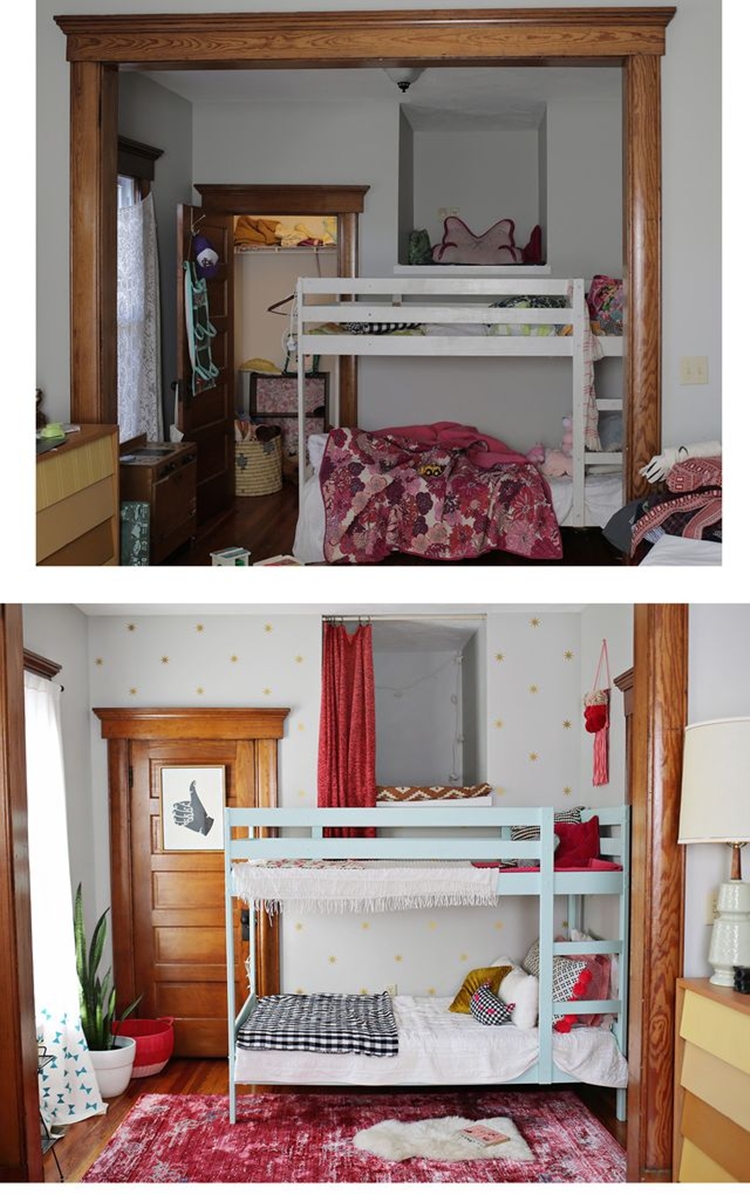
As you can see, our before photo was pretty sad. The big kids had shared a room until we moved here so we when we split them up, Sebastian’s mattress went to his room and left the top bunk with nothing but slats. This wall is the only space in the room that can host the bunk bed and was an ideal option for making use of the incredibly random cubby space that was carved out from empty stairwell space when the house was renovated by the owners. Except the slats weren’t safe for kids walking across to get to the cubby hole! Indecision and a tight budget kept me from making a move to either buy a second mattress or get some plywood cut to create a floor that was solid enough for the kids to play on. We just stacked all of our extra pillows and quilts up there and made sure Smith never ventured up the ladder but it was pretty tacky. We also weren’t sure if we would keep the bunk bed or bring her old iron bed up from the basement so I didn’t bother painting over all of the worn out places.
The old rug was dingey and the curtains were kind of just leftover lace panels from my fabric stash that were hung with tacks instead of on rods. There wasn’t really anything on the walls because I couldn’t decide if I was going to keep the bunk bed here or bring in her regular twin bed so I didn’t want to start nailing things up and then change such a major wall space taker upper. None of this kept anyone up at night because we’re so thankful we have the freedom to complain about how dumpy our safe, warm, private rooms ever look but I also know how much a well-organized, beautiful space can create a sense of peace and allow a little more cheer into all areas of our lives.
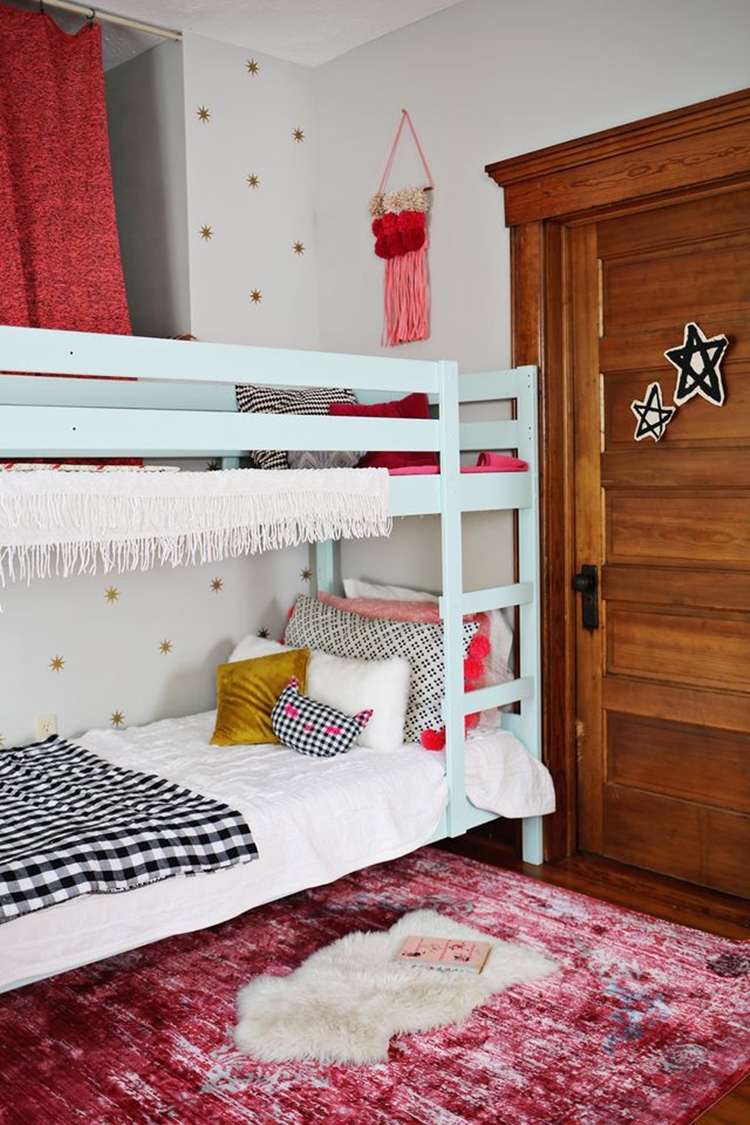
My first step was painting the bunk bed. I purchased this gorgeous but inexpensive area rug on sale at Wayfair to help style some of the finished photos in my weaving book but I knew it was going to be the focal point of Ruby’s room makeover when I was done with it. She loves pink as much as I do! I then decided on a few complimentary colors to help calm down the pink and let Ruby choose which shade of minty blue to paint the bed. I used an HGTV sample size (I’ll have to dig for the specific color number) and painted two light coats over my white. The sample size was 20 oz. of paint for $3.84 and I was pretty happy with the results. It’s hard to be such an inexpensive makeover project! It immediately felt better in there.
I also measured out the space above the slats and had some MDF wood cut in two large sections at one of our big hardware stores in town. Getting it cut in two sections was the only way I could ensure I could get it home from the hardware store in our car but it also made it light enough for me to heave them up onto the top of the bunk myself. I went with MDF because it’s a smooth surface so there won’t be splinters should a child walk on top of it barefoot. I then covered it with two large quilts to help soften the look of things and now it’s kind of a lounging space for Ruby to play as well as a safe way to reach her cubby hole.

I then wiped the walls down to remove any hand and footprints and put up the gold Coronata Stars removable wall decals from Walls Need Love. Phase two was complete and just those two changes were already making such a big impact on the room. See how I measured my grid in this post here.
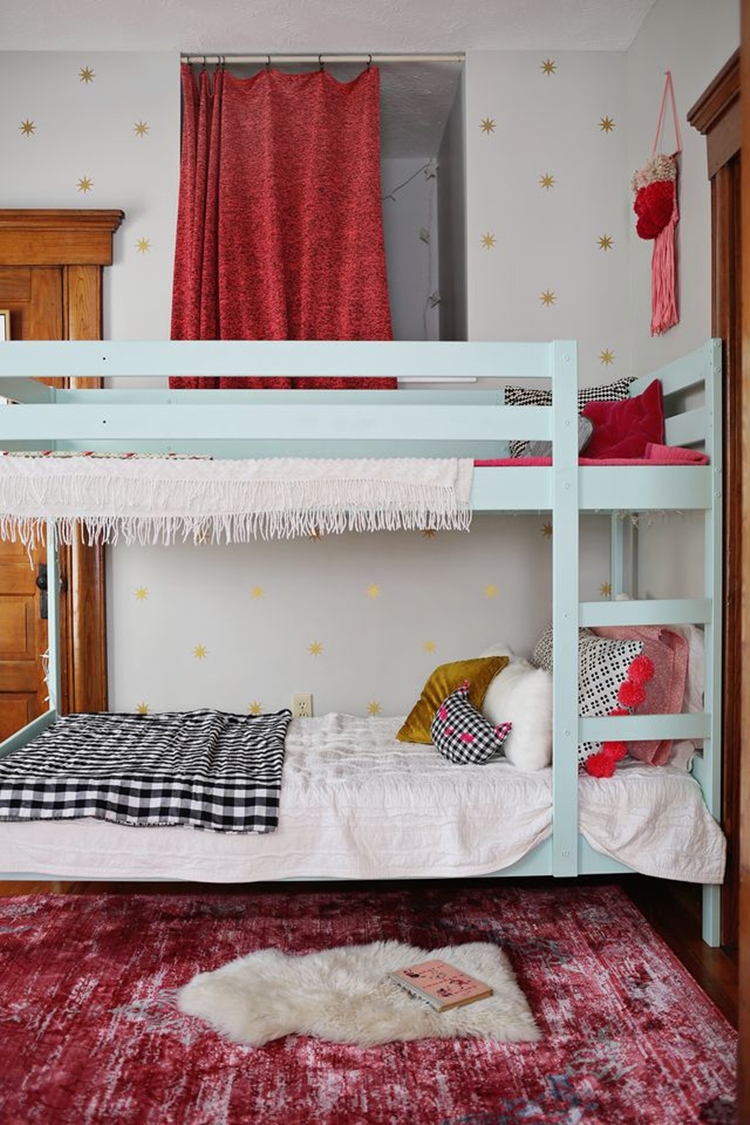
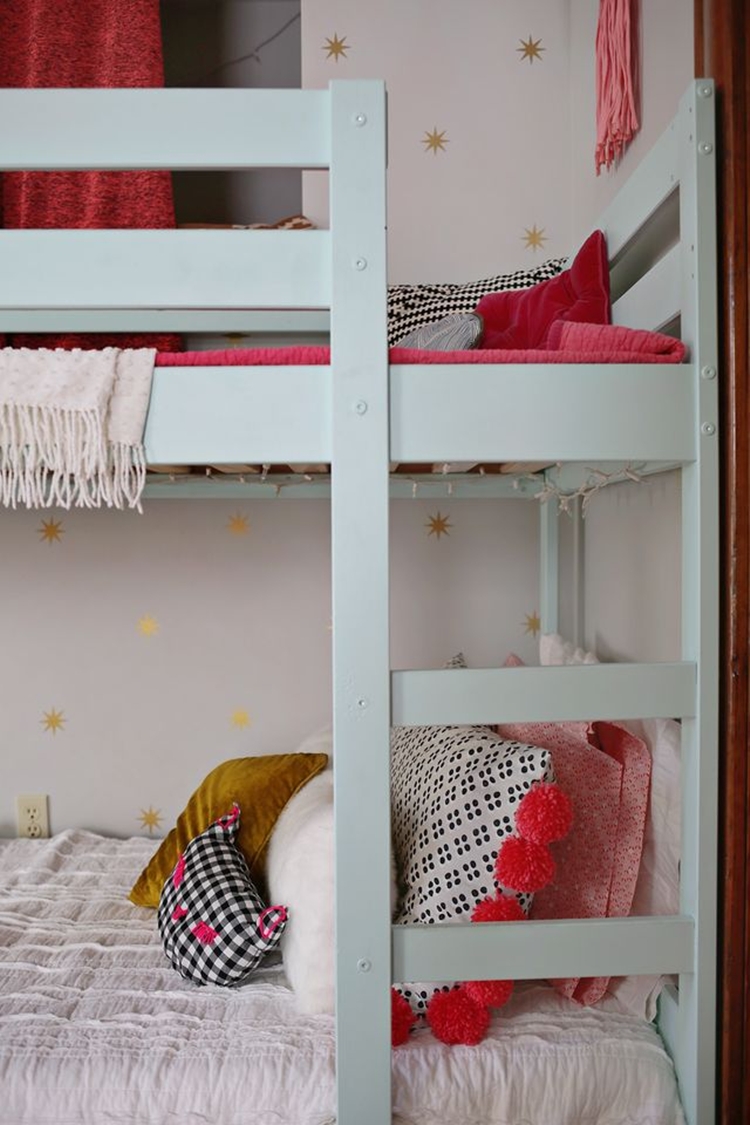
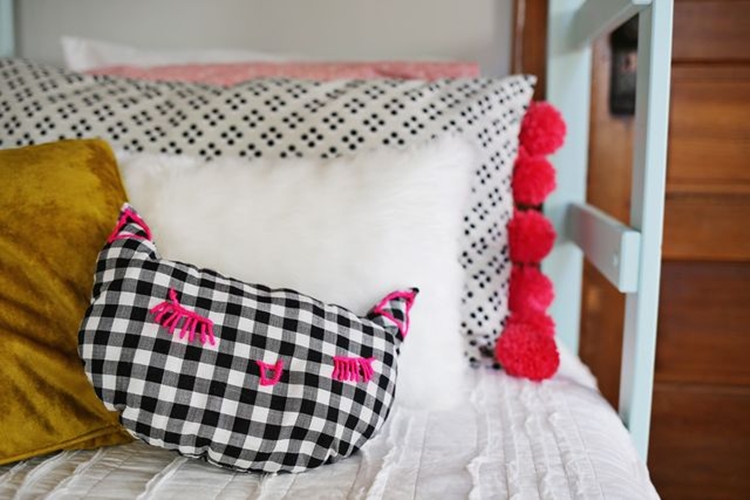
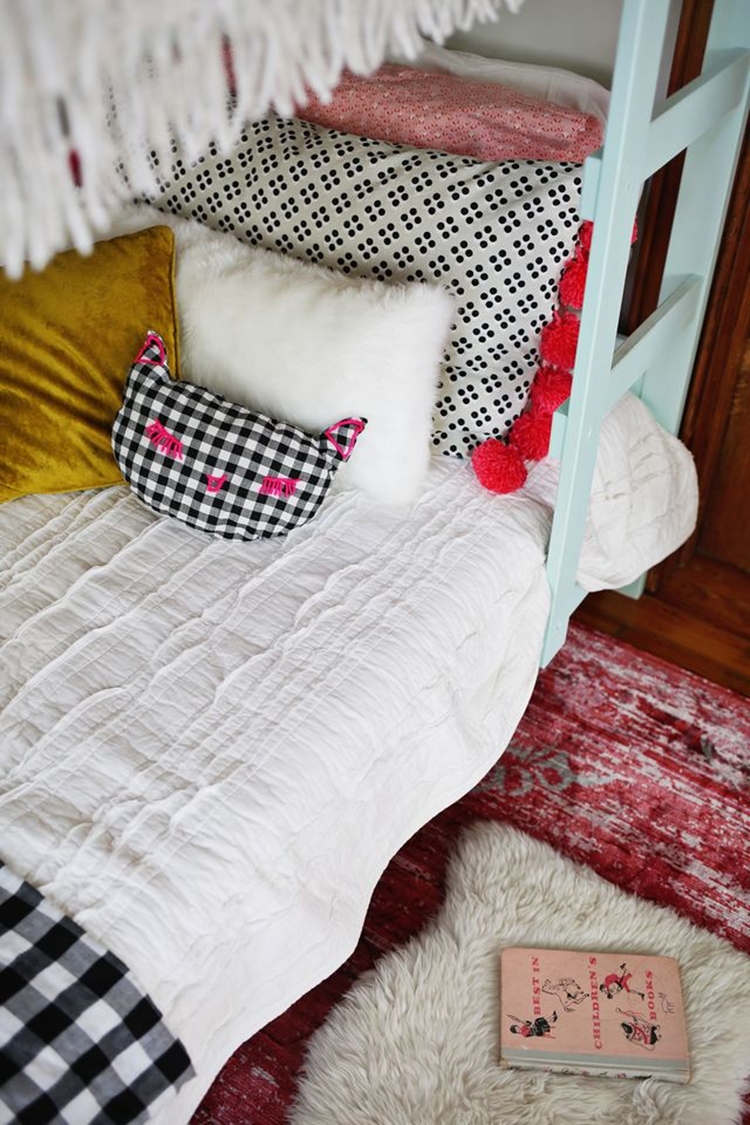
My next step was figuring out what we already had that we wanted to reintroduce into this space. I folded our white, queen-sized quilt in half to use as her main bed covering and then brought in a lap-sized quilt I made last year. You can find the tutorial for that one over at ABM. I reintroduced some pillows we’ve had for years that worked well with all of that pink and then made her a new pink pillowcase with tiny panda faces printed on them. It was such an inexpensive way to incorporate something new that was a perfect fit for our animal loving little girl! I also made a floor pillow that doubles as a large bolster pillow and I’ll be sharing the DIY for that later this month. The faux fur bolster was an easy project made from some leftover fabric from my Sew With Us e-course that I just stuffed with poly-fil and stitched close. You can find the tutorial for the kitty pillow here.
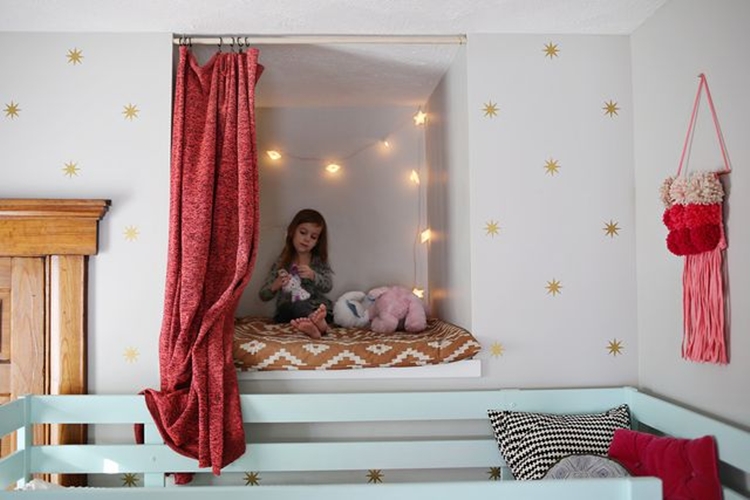
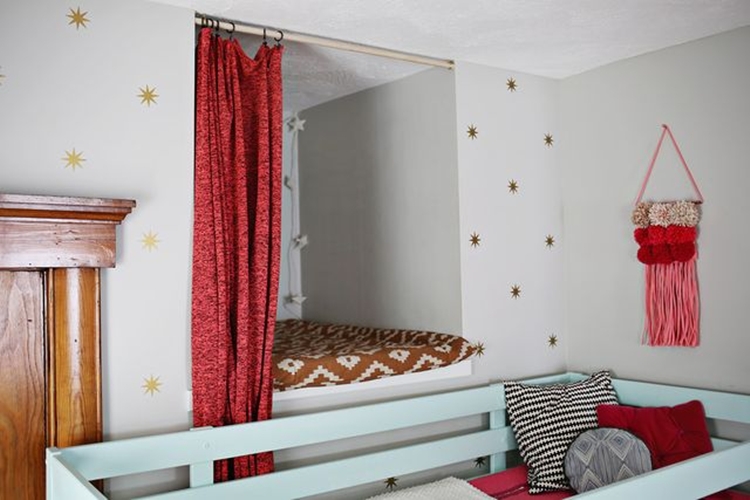
Once I had the bed fixed up, I added a curtain to her cubby hole using a wooden dowel that I cut to fit snugly and two screw hooks that I screwed into the ceiling. I added ring clips to the dowel before carefully fitting it into the screw hooks and hung a cut of knitwear fabric that I brought home to make more pillows but Ruby thought it should go up here instead. I think she made a pretty dandy choice. The dowel and curtain hooks I already had on hand and the fabric for the curtain was only $6 with a coupon. Look at me using coupons!
I wanted the cubby to have a soft surface to rest on but knew I didn’t want to spend $100 on foam so I used a curtain panel that I’d found on sale at Target to create a large envelope pillow case. I then carefully folded up a few of the sleeping bags we don’t often use as well as two quilts that have seen better days and tucked them inside. It solved a storage problem and a comfort problem at the same time and only cost me $12! The lights were purchased last year when we moved in and are perfect for keeping things cozy after dark.
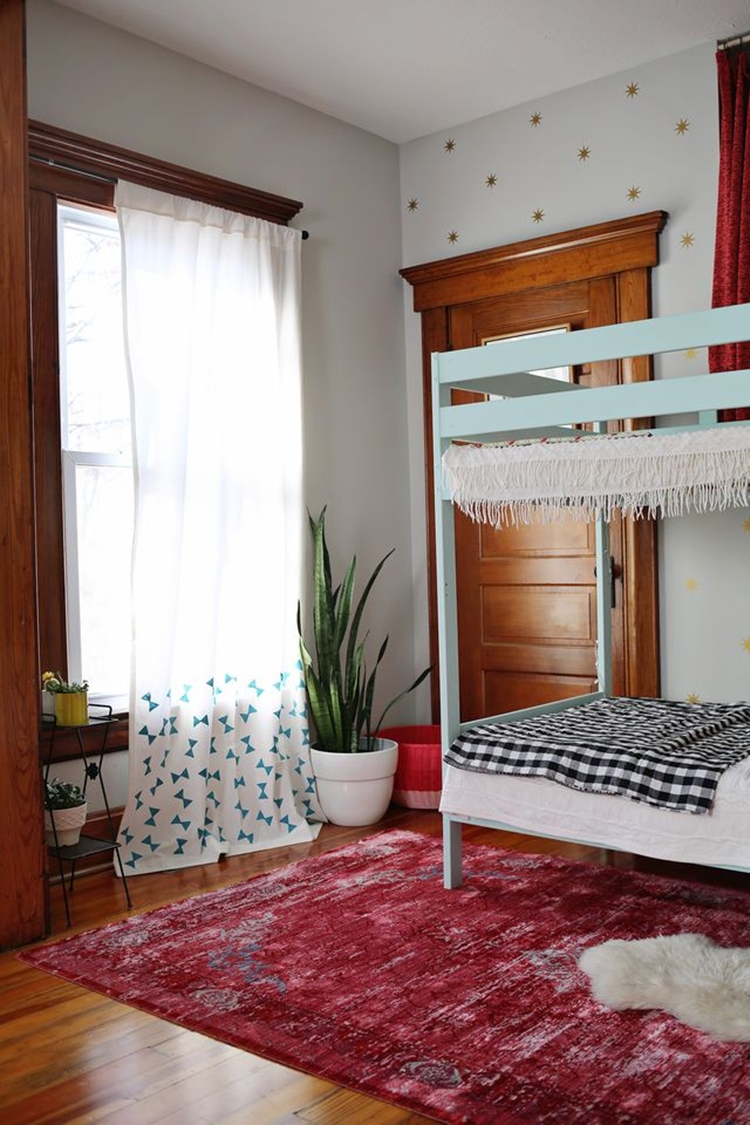
I replaced the lace fabric I had pinned up with tacks with a proper curtain rod and added some painted shapes to a white curtain panel. Here’s the super easy potato stamp tutorial I created for A Beautiful Mess in case you are in need of an easy fix for some windows in your own space. Also, we brought in plants to add some more life into this space but have decided just to leave the large one as Smith hasn’t seemed as curious about knocking it over.
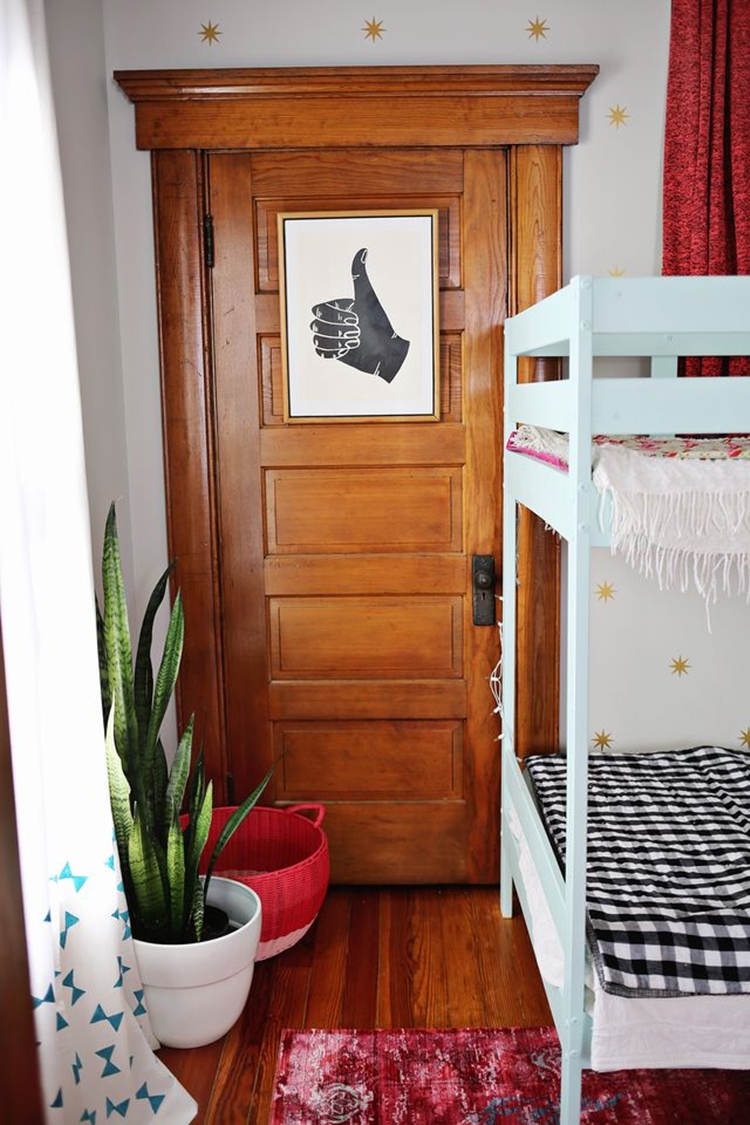
This art print was downstairs for awhile and is from Strawberry Moth. It may be one of my favorite prints in our house. The woven basket is from Target a few years ago and the chenille blanket is vintage. You can find the tutorial for making your own pom pom wall art over here.
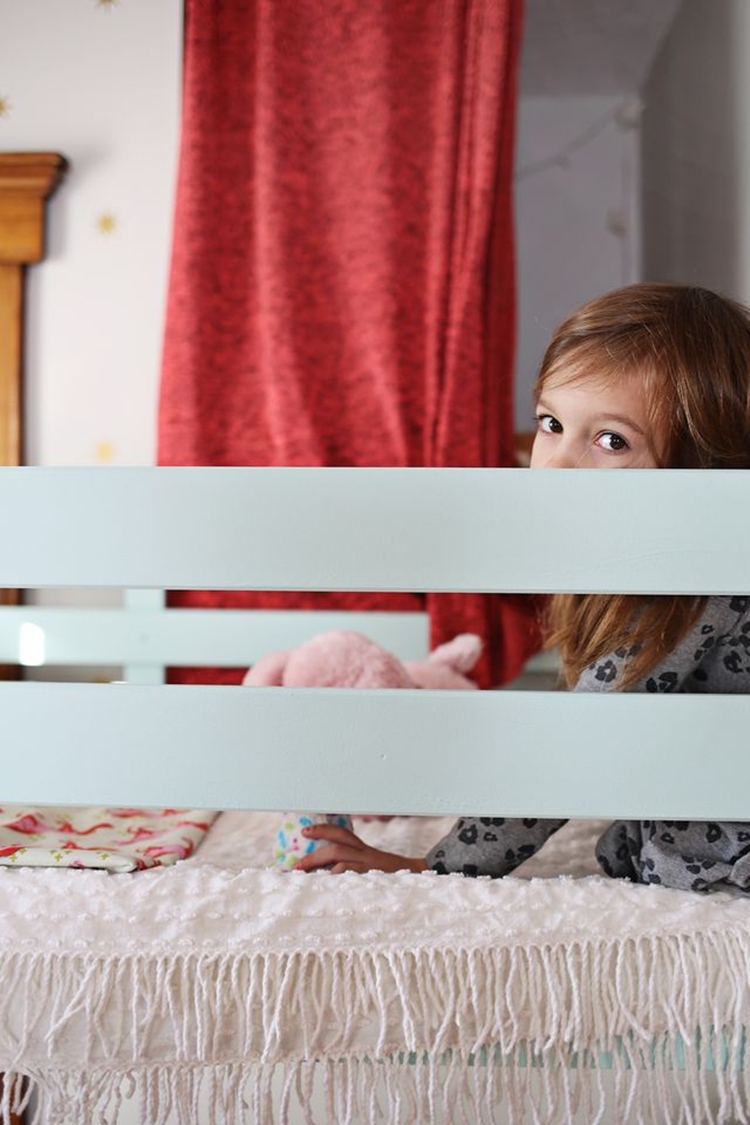
Ruby is a big fan of her revamped space, especially because we added twinkly lights to the underside of her bunk so she can play Checkers with Brett before bed. Imagine my panic when I went to wake her up the morning after I finished everything and she wasn’t in her bed! In my bleary-eyed state I got a little nervous and then heard her soft snores coming from behind the pink curtain. She had woken up in the night to go to the bathroom and crawled up there to go back to sleep! I wonder if she’ll let me hide up there when I need a mama moment. Ha!
Thanks to a little bit of paint, some wall decals, a repurposed rug, and a lot of elbow grease, Ruby now has a lovely space to enjoy that feels so much better even when it’s messy. It’s really incredible how much impact a few little changes in a room can make, even as a renter!
Now that Ruby’s room is nearly finished, I’m thinking up ways to give Sebastian a similarly low-cost room makeover. His space is downstairs and has acted as a catch-all for our extra chairs and random toddler toys that we toss in there when we’re expecting people to come over so it’s time to put some thought into making it work for him. I can’t wait to see what we come up with!