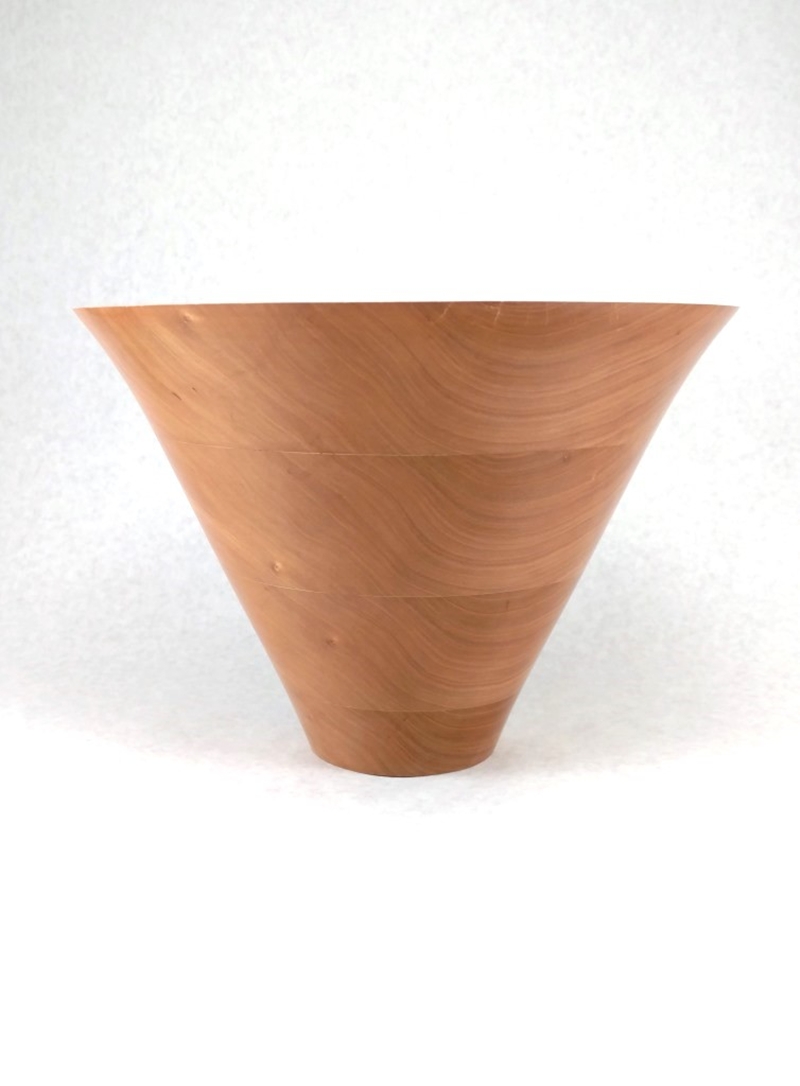
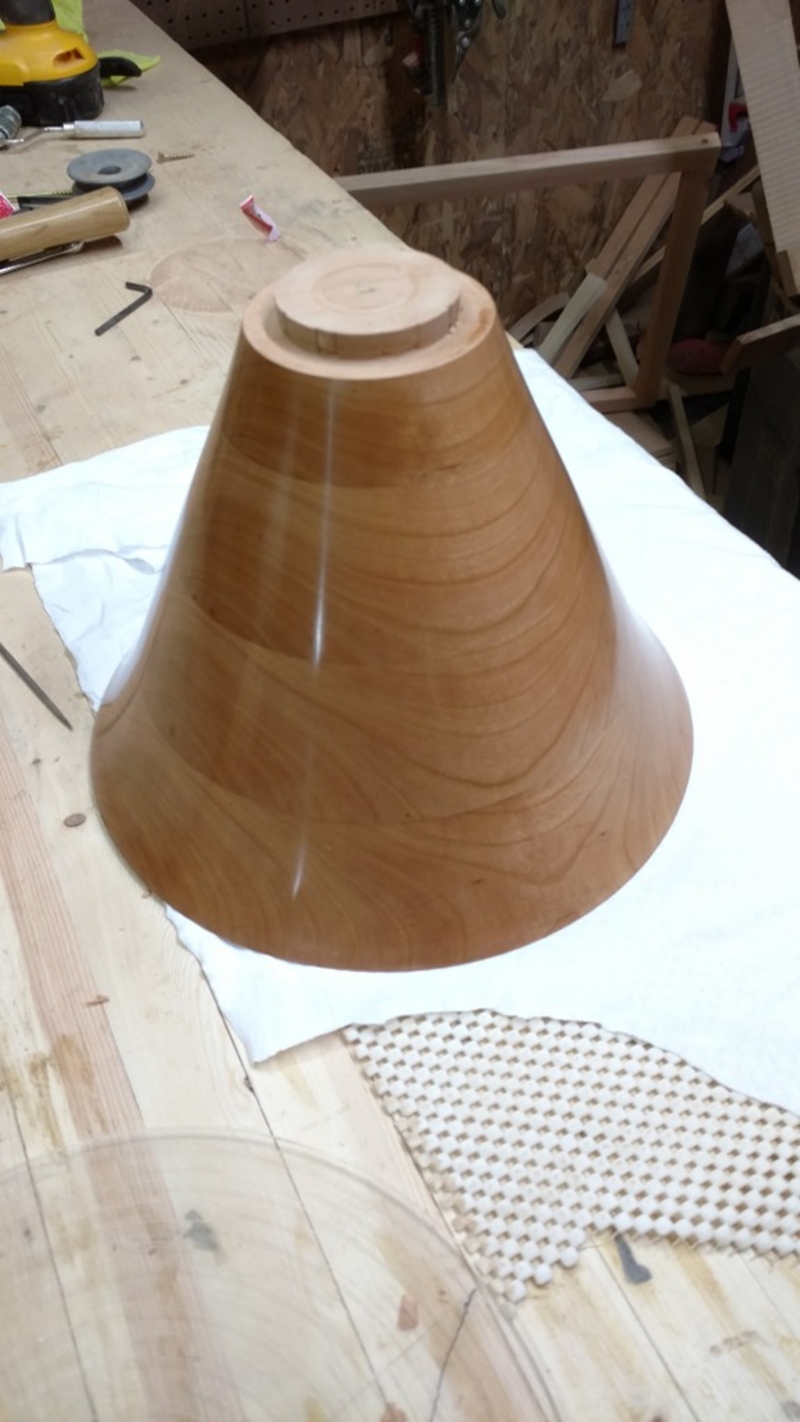
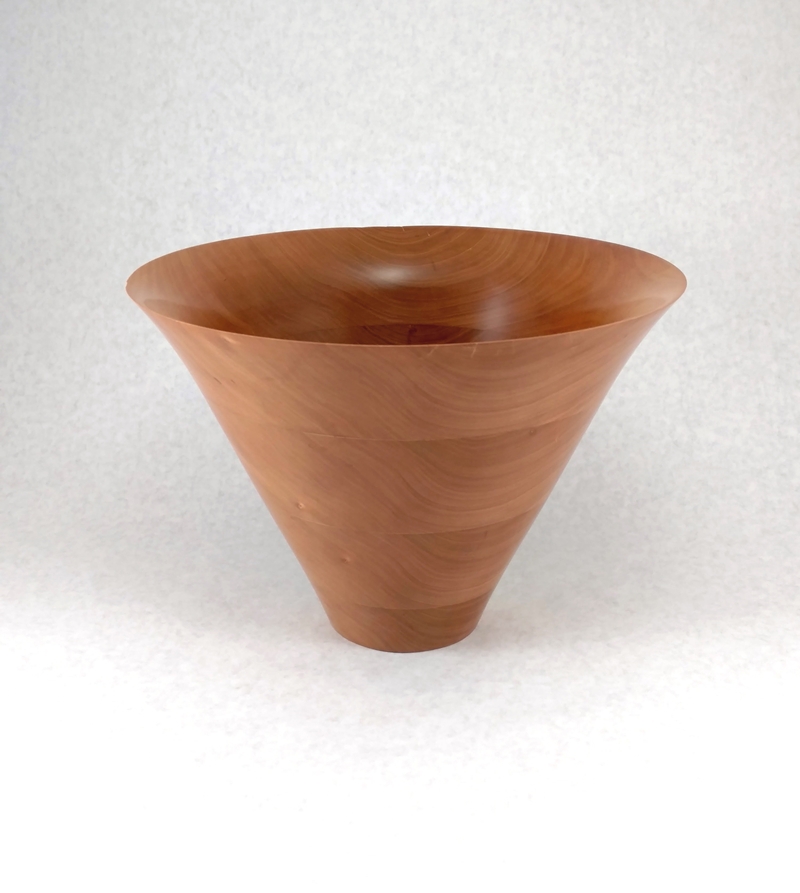
Finished product cherry vase first. 9.5″ tall 11″ wide. Cherry hardwood.
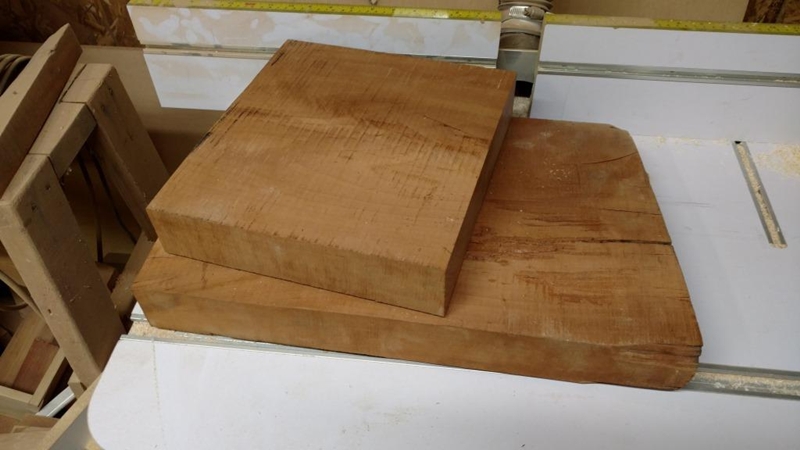
This is what I started with. I used the top board which was about 12″x12″x2.5″.
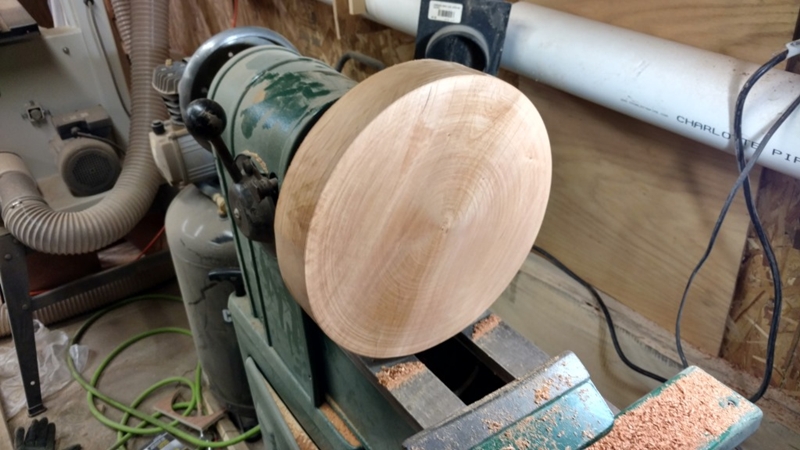
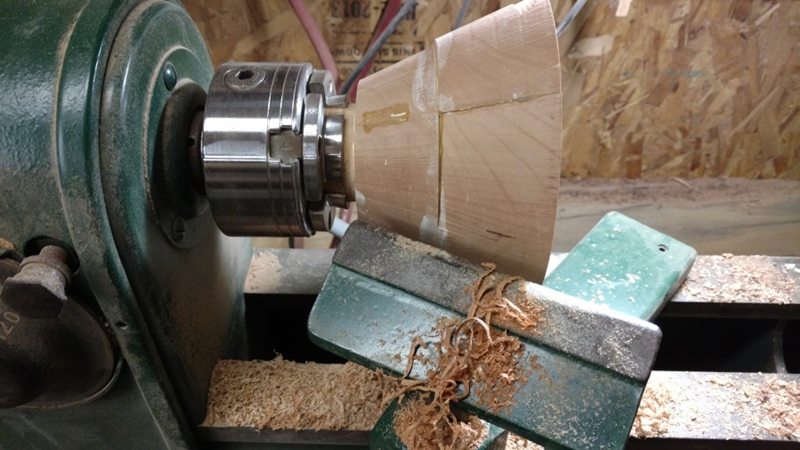
First I cut the board round on the bandsaw then put it on the lathe and made it perfectly round.
My next step didnt go so well. I tried to cut a ring off from this at about a 30 degree angle with a parting tool on the lathe. Turns out my parting tool sucks and it just friction burned the hell out of the piece. Lets try something else.
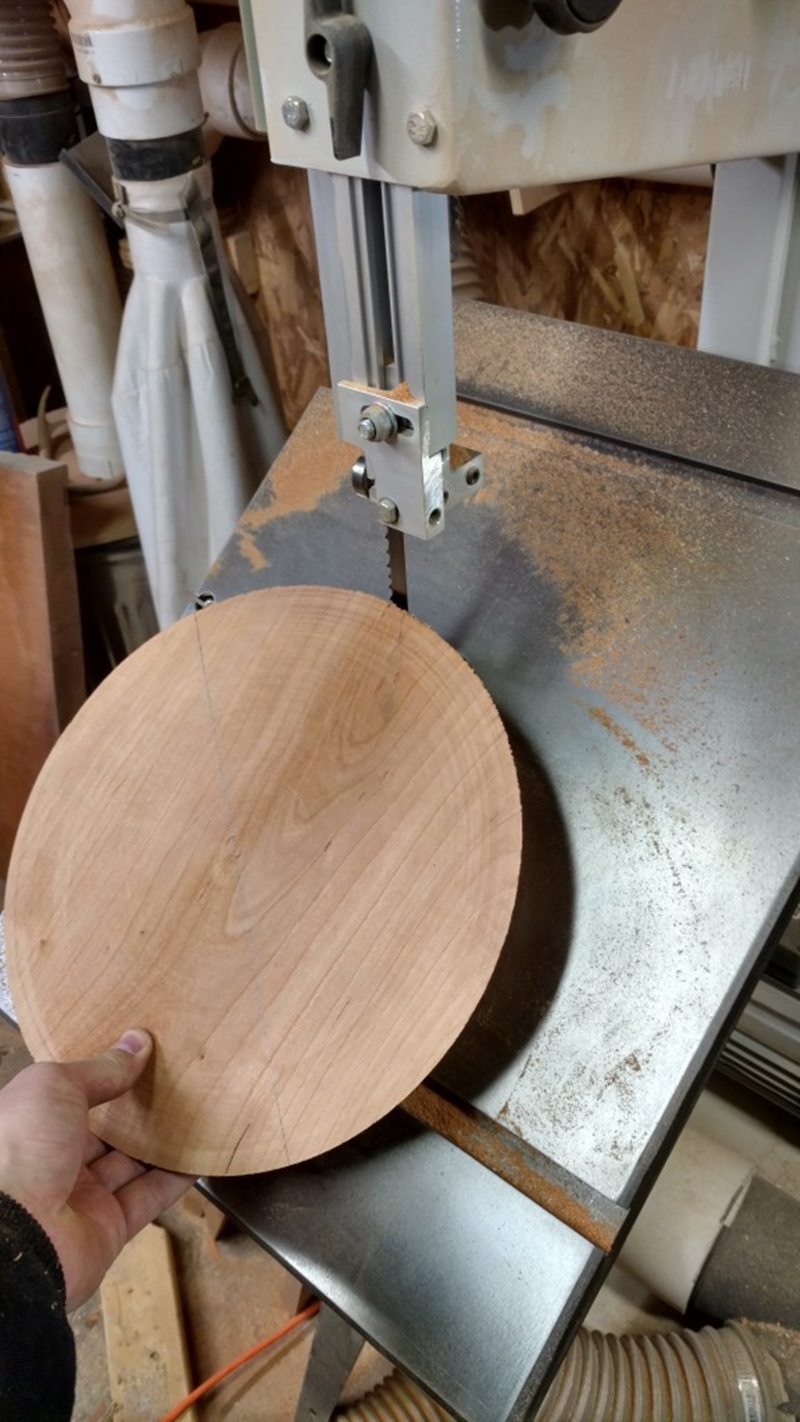
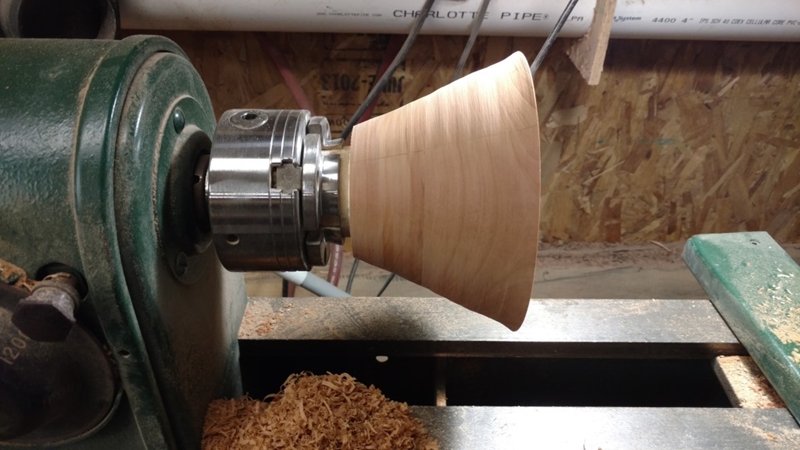
I angled the table of my bandsaw to about 30 degrees and finshed cutting the piece out round.
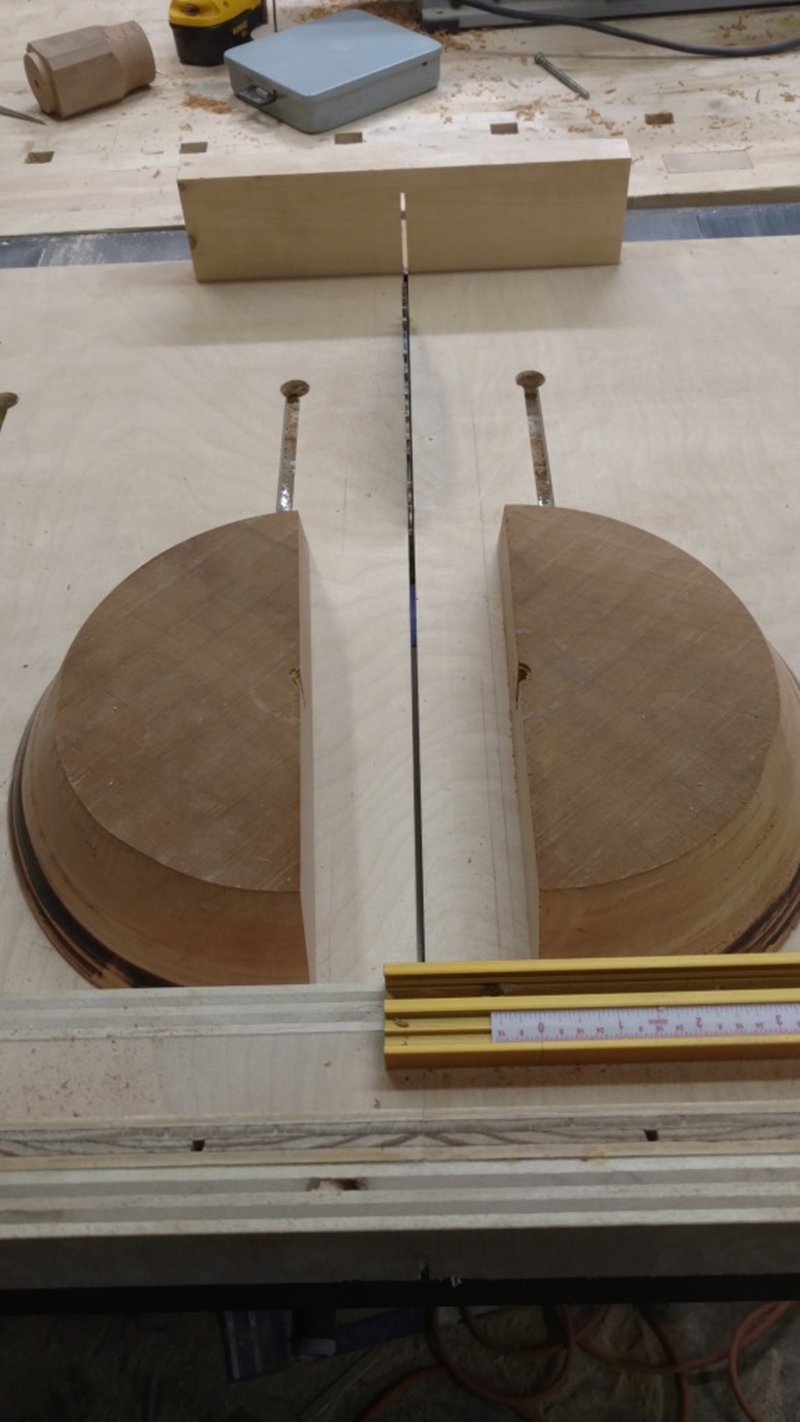
I decided ed to cut the rings on the bandsaw but to do this I needed to cut the piece in half. I used my table saw to make a nice clean cut right down the middle.
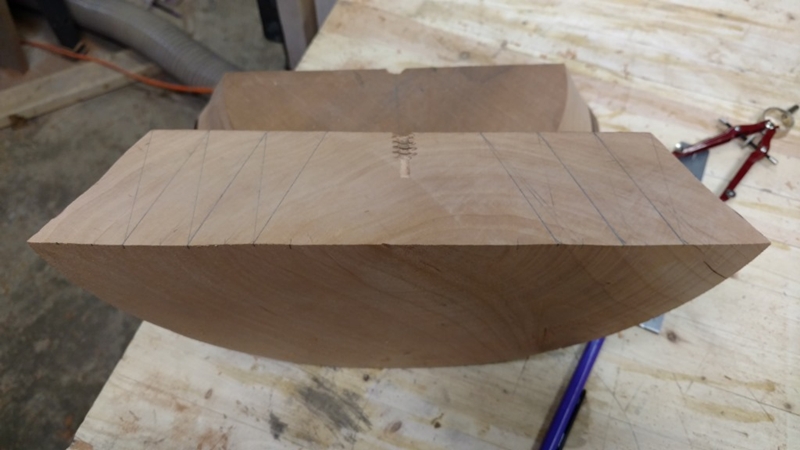
Next I marked out the angle and placement of the cut I would make on the bandsaw.
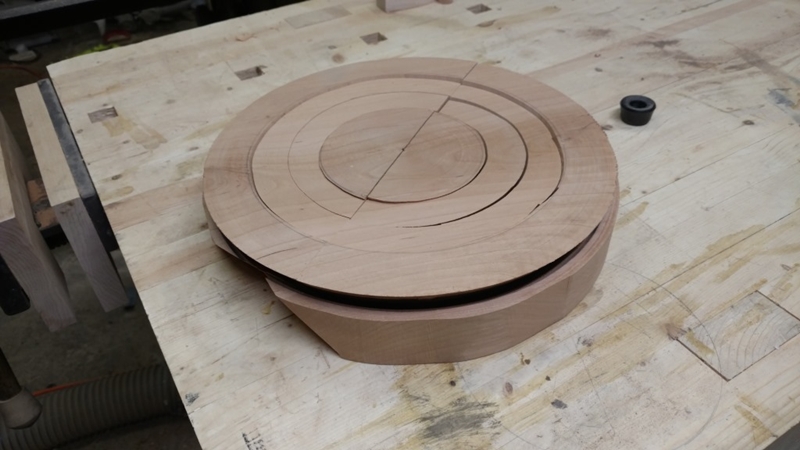
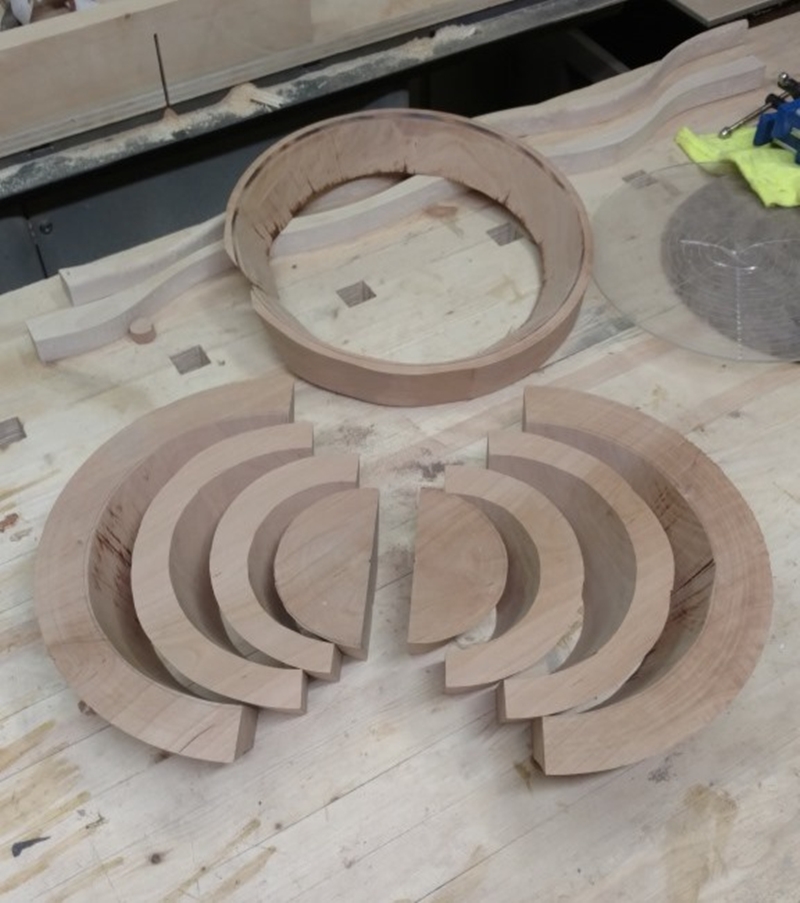
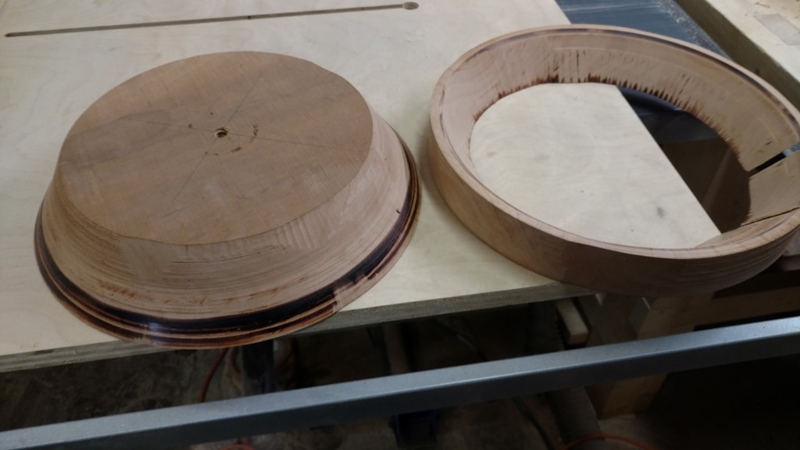
After marking out a circle cut on the blanks I just free handed the cuts on the bandsaw. I should have made a circle jig but this worked out fine. Here you can see all the pieces.
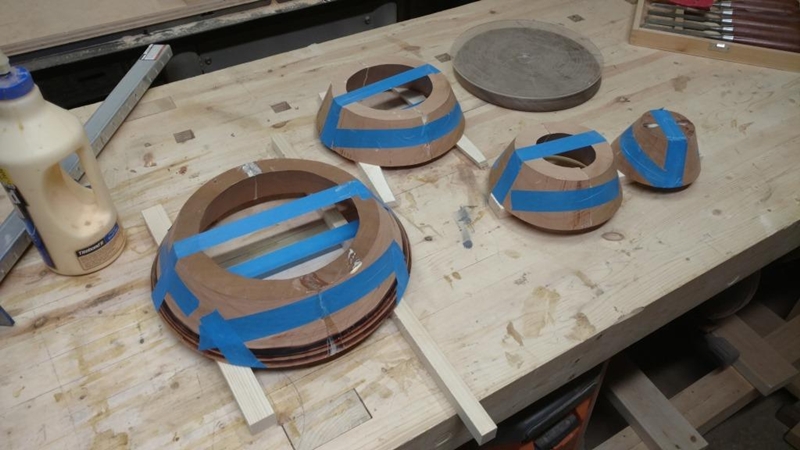
Now I need to glue the rings back together. Since this is an awkward glue up I just used blue painters tap. It has enough stretch while also being strong enough (if you use enough of it) to hold the joint tight(ish). There are probably beter methods but this worked just fine for me.
Next I needed to make sure all the rings were perfectly flat so there wouldnt be any joints while gluing them together. This took a while. I first got them close on my disc sander. Next I taped a piece of 120 grit sand paper to a piece of melamine and worked the piece until it was really flat (this was the long boring part).

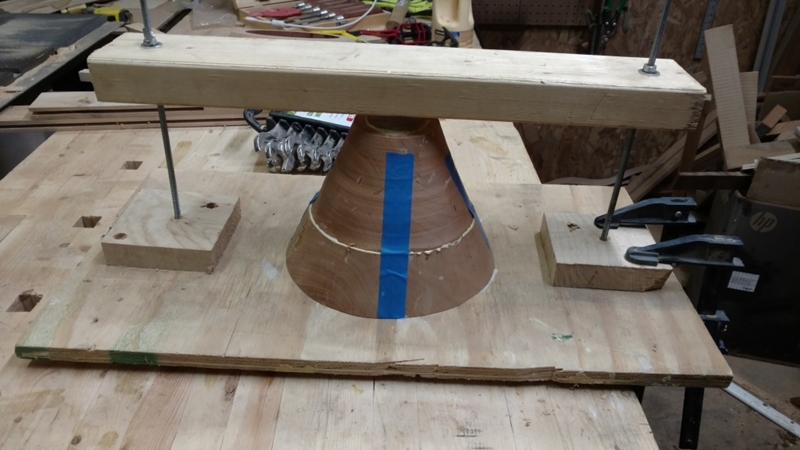
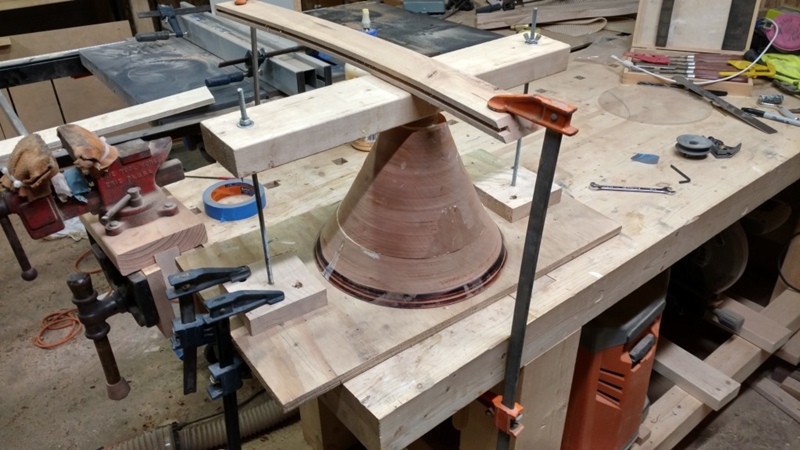
Next was finally time for glue up. I made this jig for a different project but it worked great as a large clamp.
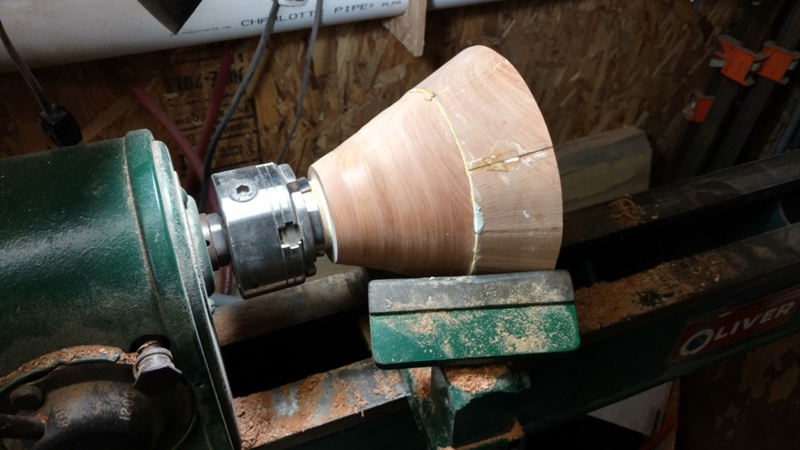
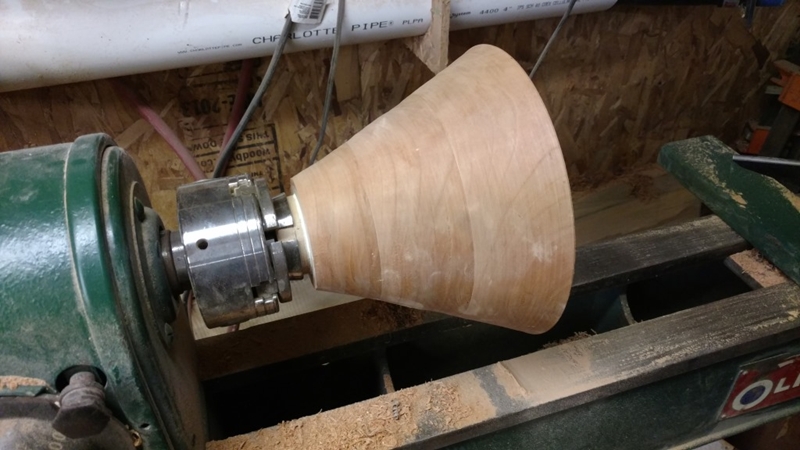
I glued up each section individually and between each glue up I mounted it on the lathe and cleaned it up. This helped me keep everything balanced and even so it was easier to work with on my lathe.
Much better.
Glue up #2. Blue tape helps the pieces from sliding around once they are under pressure from the clamping.
Once again I cleaned it all up.
Much better.
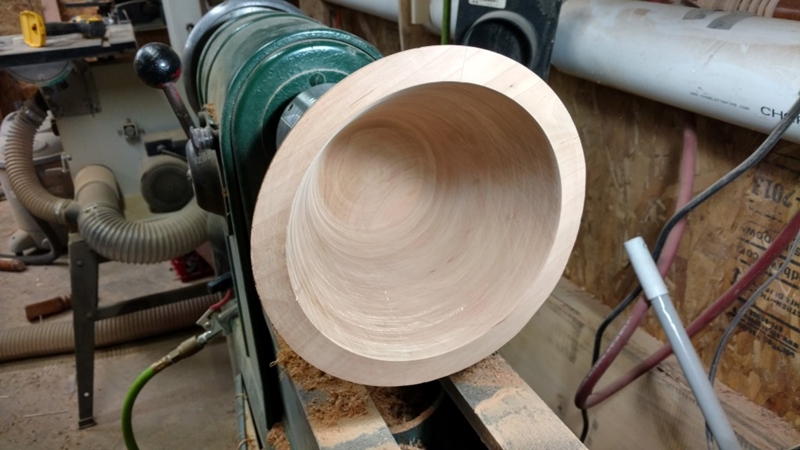
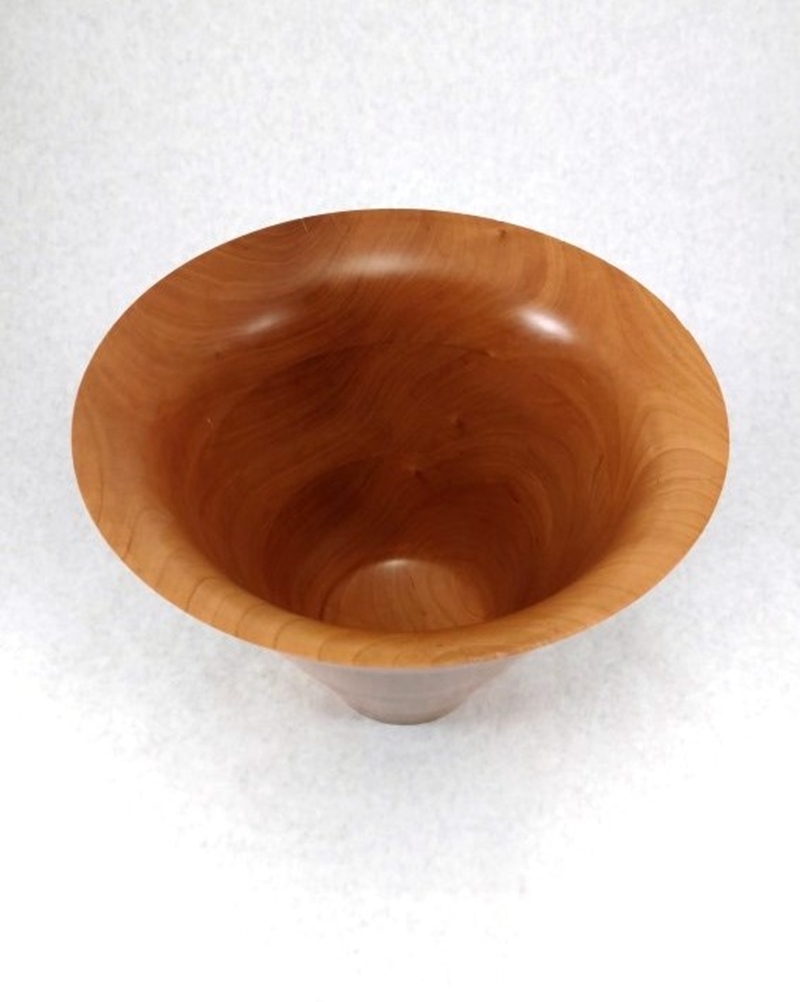
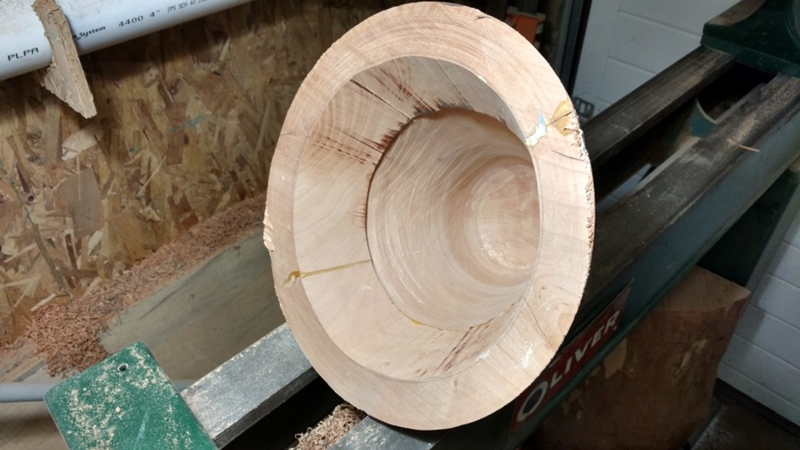
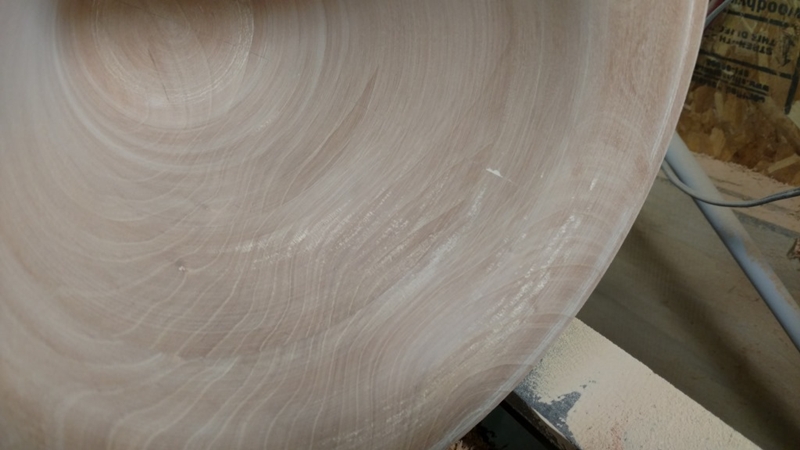
I also cleaned the inside and bottom of the bowl at this stage. The inside ended up about 8 inches deep so getting to the bottom becomes a bit more of a reach than im used to.
Once again I cleaned it all up.
And then… disaster!!! My waste block that I glued up in the bottom broke off and sent the whole bowl flying to the ground. SInce it was going around at 1800rpm, as soon as it hit the ground it took off and rolled across my shop floor and ended up under the table saw… I thought it was going to be ruined.
Luckily it wasnt too bad. The rim was smashed all to hell but since I just started shaping that part it wasnt really an issue. I got lucky.

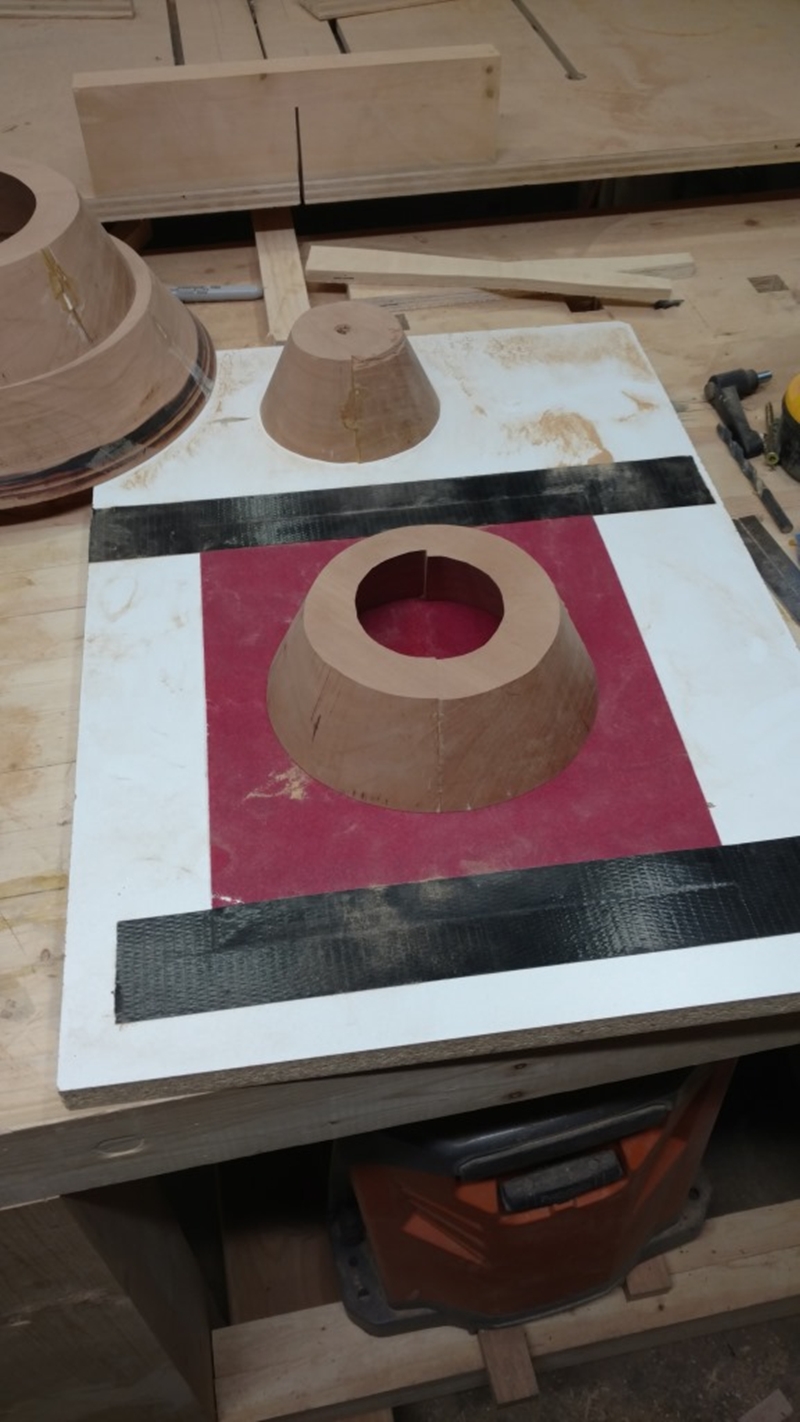
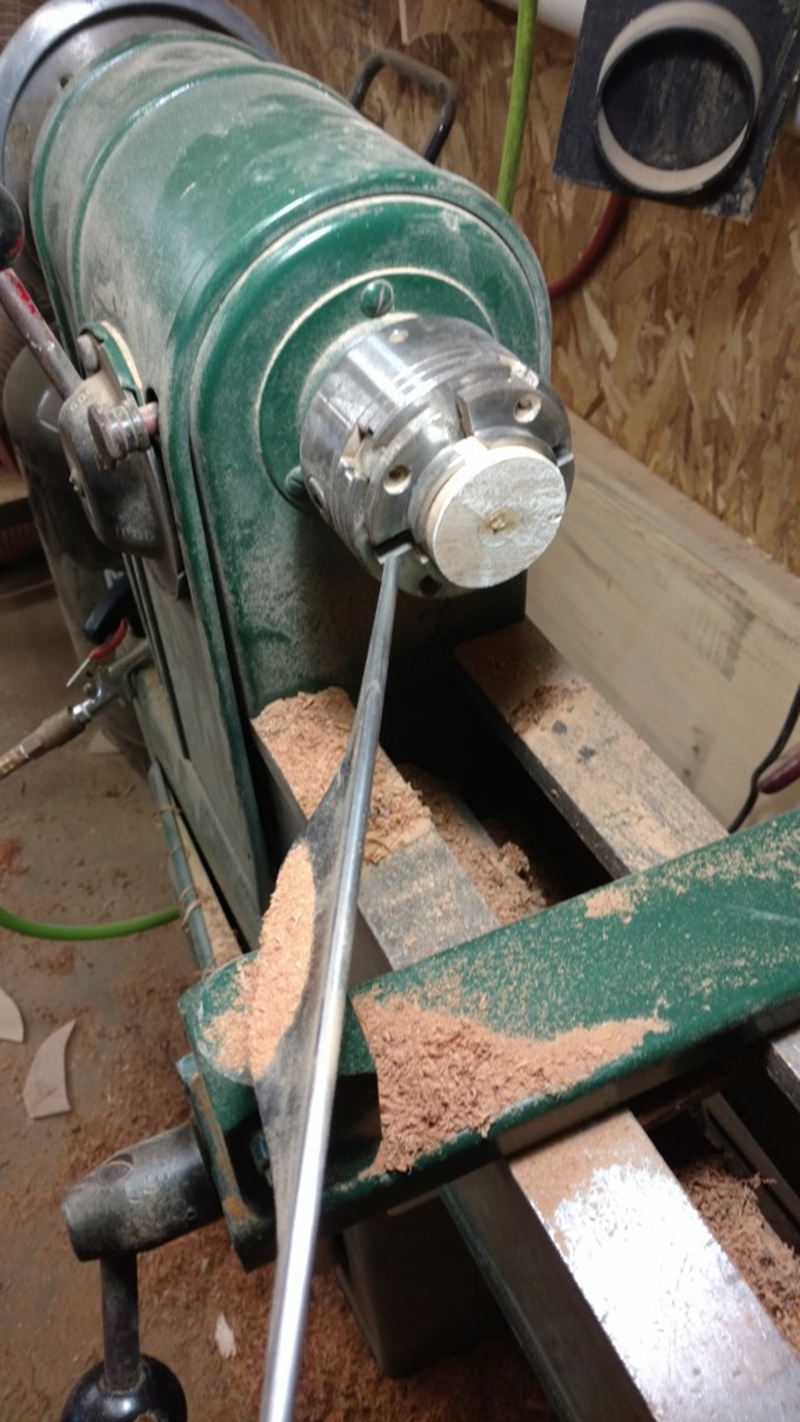
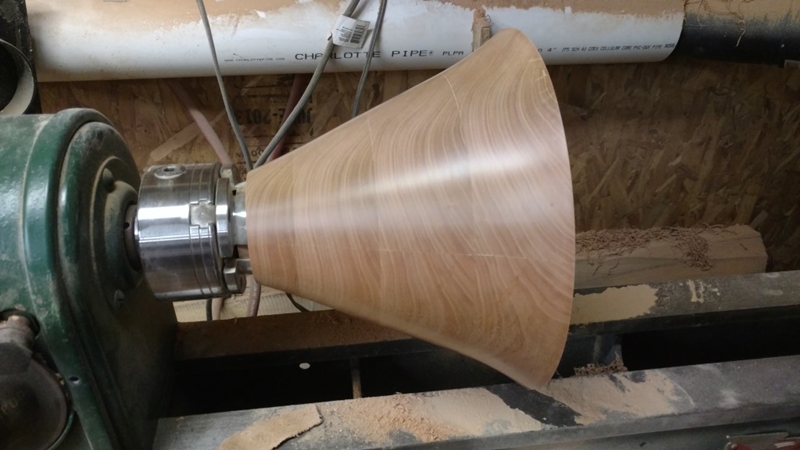
So I turned the whole thing around on the lathe and mounted it with a jam chuck and the tail stock. Next i was able to turn a tenon on the bottom of the bowl…
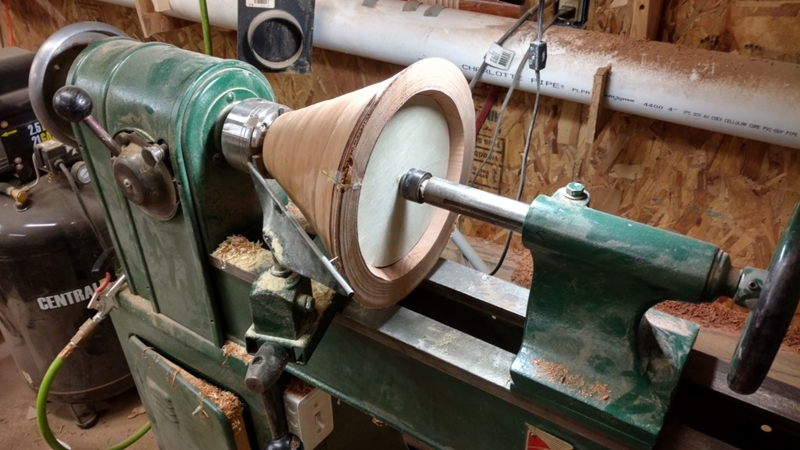
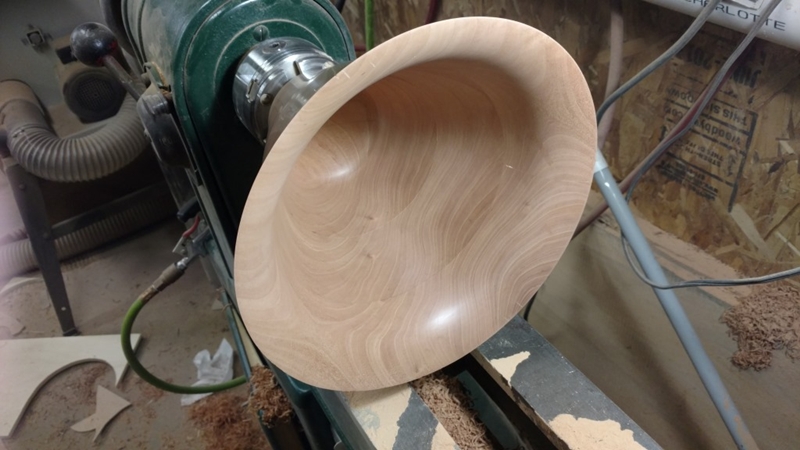
And remounted it into the chuck. I also made a plywood cirlce that jammed into the opening. This gave me a ton more support while turned the outside of the bowl. Worked really well.
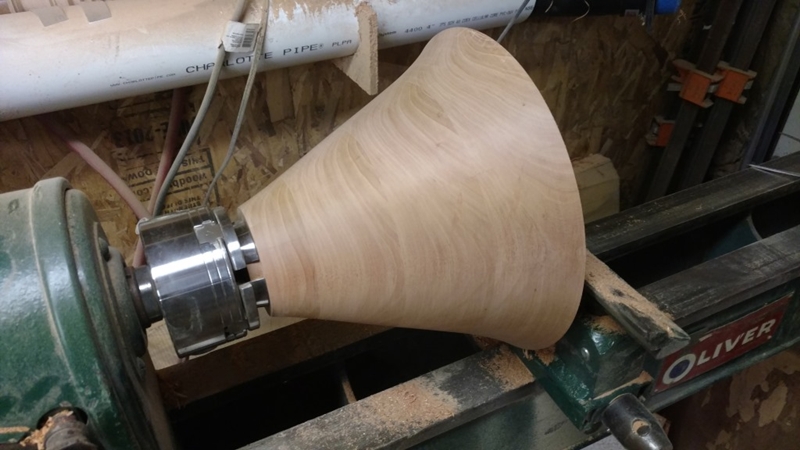
Its getting there.
Removed the plywood insert and carfully cleaned up the inside of the bowl. This was the nerve racking part.

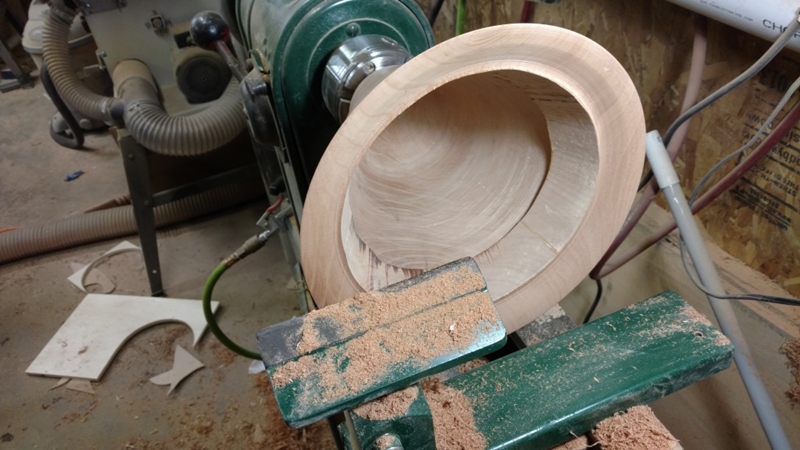
But I was able to clean it up fairly nicely. Sand paper cleaned up the rest.
I had a fair amount of tear out but I just used 100 grit to get rid of this. Sand paper hides all mistakes.
Love that grain.
Sanded to 600 grit and I finished it with EEE wax and Shellawax friction pollish. I love this finsh but it can be a pain (or I just suck at finishing everything, still working on it though). After working with it for a while I was able to get a flawless finish that is incredibly smooth. Its like silk to touch.
I was too scared to remove the tenon on the lathe so I decided to take it off with a large fostner bit and sand paper.

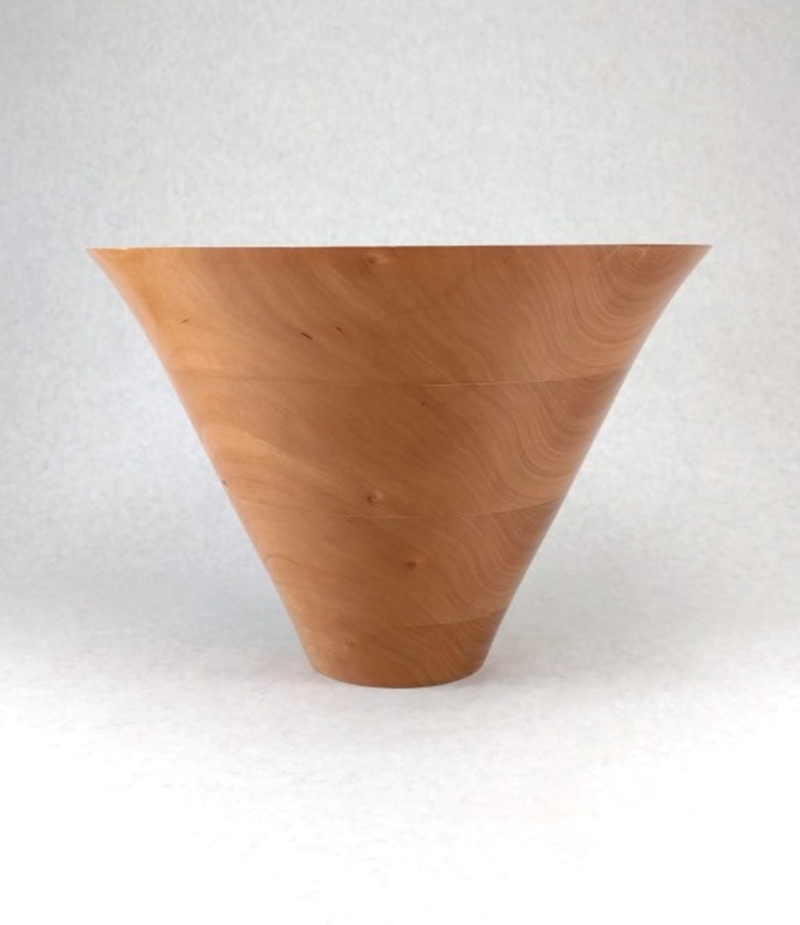
Finished product. It is about 9″ tall and about 10′ wide at the top. I’m really happy with how it turned out.
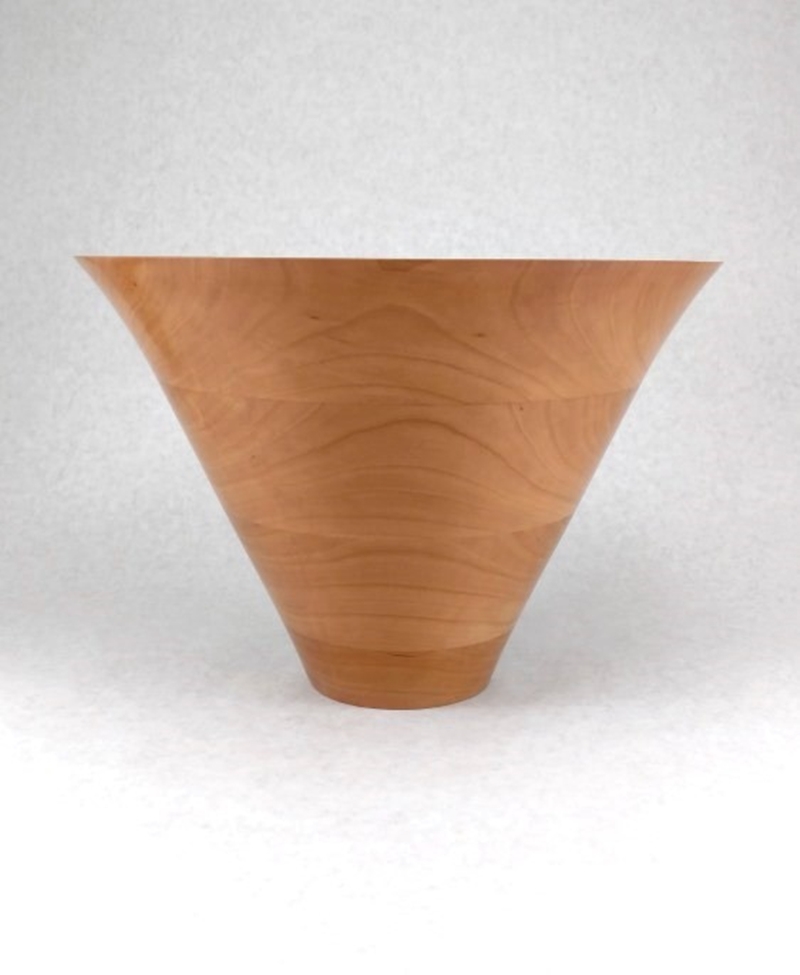
Im still trying to get this photography thing figured out. The white background is washing these pictures out too much. I dont think the pictures do this piece justice.